A self-propelled lawnmower is a helpful device that makes it much easier to mow your lawn. It typically includes a gas engine and can move forwards on its own, making mowing the lawn much less strenuous. If you have a self-propelled lawnmower, then you know how helpful it can be – but what do you do when the self-propulsion feature stops working?
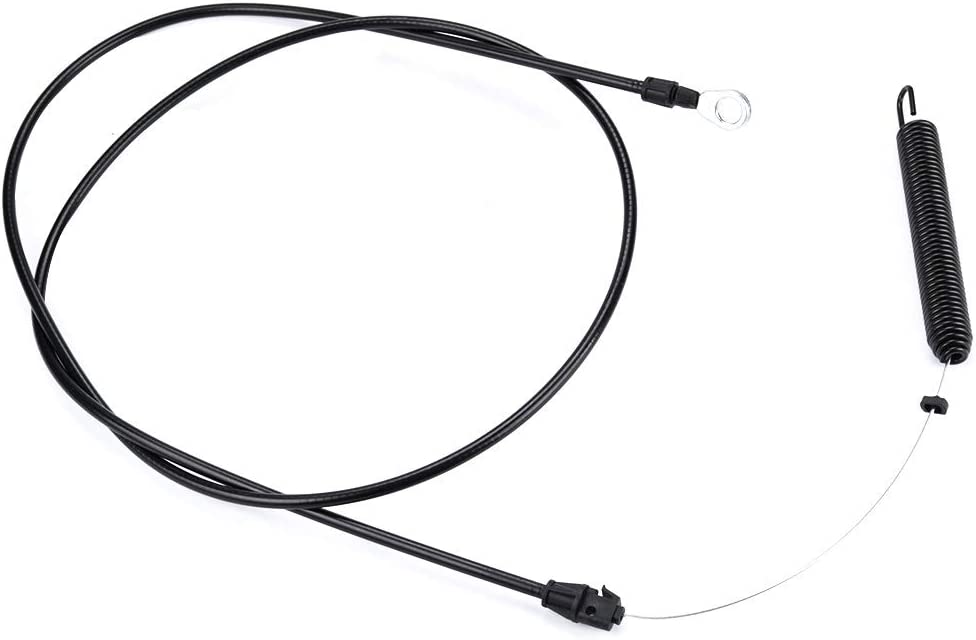
One of the most common reasons a self-propelled lawnmower might stop working is because the cable responsible for moving the wheels has come loose or broken. If this happens, it’s relatively easy to fix – and we’re here to show you how. This guide will walk you through everything you need to know about fixing a self-propelled lawn mower cable.
Tools You’ll Need
- Replacement self-propelled cable (optional)
- A plastic bag
- Needle nose pliers
- Screwdriver
- Socket wrench
- Hand gloves
- Goggles
Easy steps To Fix Self Propelled Cable
Follow these steps to repair the self-propelled lawnmower cable:
Step 1: Disconnect the Spark Plug
Before you do anything, it’s essential to disconnect the spark plug on your lawnmower. This will help to prevent the engine from accidentally starting while you’re working.
Step 2: Cover the gas cap with plastic
Once the spark plug has been disconnected, you should cover the gas cap with a plastic bag. This will help prevent any gasoline fumes from escaping while you work.
Step 3: Inspect the self-propelled cable
Now it’s time to take a closer look at the self-propelled cable. If it’s broken, you must replace it with a new one. However, if it’s just loose, you can fix it without replacing the entire cable.
Step 4: Remove the drive cover using a screwdriver
You’ll need to remove the drive cover to access the self-propelled cable. This is typically done with a screwdriver.
Step 5: Remove the Cable
With the drive cover removed, you can see it’s time to get your hands on those cables. Unfasten one end from its anchor post and remove them as a unit!
Once this is done, depress the release button and pull the drive cable sheath out of the transmission lever. Now, the drive cord is free from all the connected components so that you can pull it out.
Pulling the released cable off won’t require much force, but it is still attached to some components if it does not come out quickly. So, instead of pulling on it with power, thoroughly review the above steps to recheck if you missed a connection. Free the cable from that link; you can take it out quickly.
Step 6: Replace the cable (or reattach it if it’s loose)
If the self-propelled line is broken, replace it with a new one. However, if it’s just loose, you can try reattaching it.
To do this, feed the cable’s end through the transmission lever and out the other side. Then, depress the release switch and pull the drive cable sheath back into place.
Once the drive cable sheath is in place, you can reattach the cable to the anchor post. Make sure that the line is securely attached before moving on.
Step 7: Reattach the drive cover
With the cable reattached (or replaced), you can now put the drive cover back in place. Use the screwdriver to tighten it down so that it’s secure.
Step 8: Reconnect the spark plug
Now it’s time to reconnect the spark plug. Make sure that it’s securely in place before moving on.
Step 9: Test the self-propelled feature
Once you’ve finished all the steps above, it’s time to test out the self-propelled feature on your lawnmower. If it’s working correctly, then great! You’re all done. However, if it’s not working correctly, you’ll need to go back and double-check the steps.
Fixing a self-propelled cable on your lawnmower is relatively easy as long as you have the right tools and know what you’re doing. By following the steps above, you should be able to fix the problem quickly.
Tips To Avoid Self-Propelled Cable Issues
There are a few things you can do to avoid self-propelled cable issues in the future:
- Check the cable regularly for wear and tear.
- Replace the cable if it shows signs of wear or damage.
- Be careful not to over-tighten the cable transmission end cap.
- Follow the manufacturer’s recommendations for replacing the self-propelled cable.
FAQs
Where to buy a self-propelled lawnmower drive cable?
You can purchase the drive cable for self-propelled lawn mower from most hardware or home improvement stores.
Also, purchase it online from various retailers.
How do I know if my self-propelled lawnmower cable is broken?
The cable may be broken if your self-propelled lawnmower is not working correctly. To check, you can remove the drive cover and inspect the cable. If it’s damaged, you must replace it with a new one.
How often should I replace my self-propelled lawnmower cable?
The replacement frequency will depend on how often you use your lawnmower and the condition of the cable. However, replacing the cable every few years is generally recommended.
What does the bail of a self-propelled mower do?
The bail is a lever to engage the self-propelled feature on a lawnmower. The self-propelled feature will be engaged when the bail is in the “on” position. When the bail is in the “off” place, its feature will be disengaged.
How do I know if my self-propelled lawnmower is working correctly?
To test the self-propelled feature on your lawnmower, start by engaging the bail. Then, push the mower forward to see if it moves independently. If it doesn’t move, the self-propelled feature is not working correctly.
How to fix self-propelled lawn mower cable Husqvarna?
How to replace the drive cable on the Husqvarna lawn mower, step by step:
Step 1. Gather the necessary tools and materials
Step 2. Disconnect the spark plug
Step 3. Remove the drive control panel
Step 4. Detach the old cable
Step 5. Install the new cable
Step 6. Reconnect the spark plug
Step 7. Test the lawn mower
Conclusion
A broken self-propelled lawnmower cable can be a real pain. But with a little bit of elbow grease, you can fix it yourself. Just follow the steps above, and your lawnmower will be up and running quickly.
Few things are more frustrating than a loose or broken drive cable on your self-propelled lawnmower. You may think you can’t fix problems, but don’t worry! With some essential tools and knowledge of how they work together, you will find this fix easy to handle, even if it is new territory for you regarding fixing up machines like these.
After reading our blog post today about fixing common problems with push reel mechanisms, ensure all parts match up properly before continuing on to the next step.

Douglas Mackalie is a Founder of Mackalies Garden. He is one of the most exciting people you’ll ever meet. He has 25 years of experience in horticulture and gardening, most of which he’s spent outdoors getting his hands dirty.