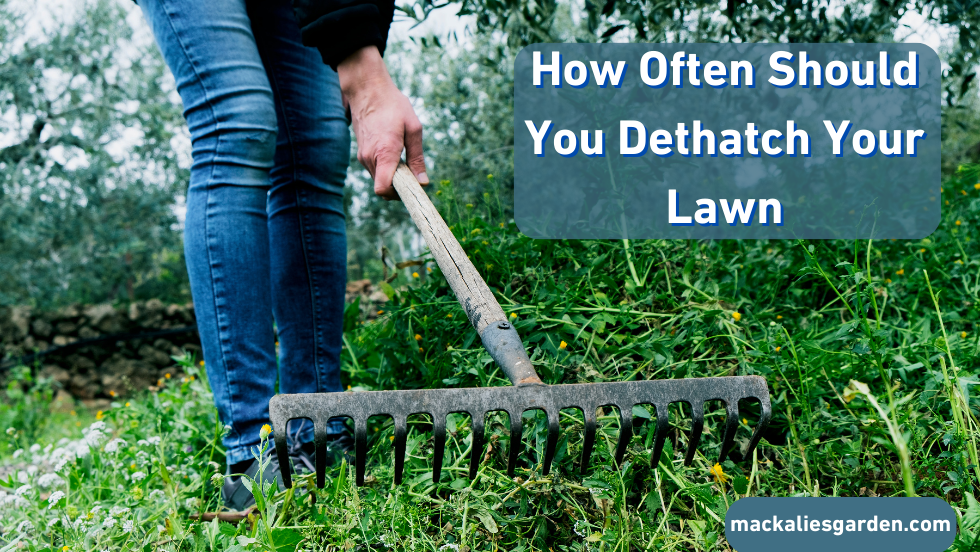
As a lawn care expert, I understand the importance of maintaining a lush and healthy yard. One of the essential tasks you must perform is dethatching your lawn. Dethatching is the process of removing the layer of dead grass, roots, and leaves called thatch, which sits between the grass and the soil.
Thatch is crucial for drainage and moisture retention, but it can harm your grass if it becomes too thick. In this guide, I will list 9 signs that indicate the ideal lawn conditions that need dethatching, considering variables like type of grass, season, weather, and soil conditions. I will also provide details about the equipment needed, how deep to dethatch, and how to avoid improper dethatching.
How Often Should You Dethatch Your Lawn: Common Signs
Below are the most common signs that you should dethatch your lawn:
Sign 1: Checking for a Spongy Thatch
The first and most obvious sign you need to dethatch is when the layer of thatch becomes so thick it acts like a sponge. When you step on your lawn, the ground will feel spongy. This means that too much moisture is soaked up by excess thatch instead of reaching your grassroots.
Sign 2: Presence of Weeds
Weeds are one of the biggest problems for lawn care. If you have an overabundance of weeds in your lawn, it could be a sign that your thatch is too thick. Thatch can create a friendly environment for weed growth and prevent the necessary levels of air and water from reaching your grass’ roots.
Sign 3: Fungal Growth
Fungi can grow in thatch and cause disease, weakening your lawn’s health. If you notice any fungal growth or spots caused by fungi, it is a sign that dethatching should be done immediately to remove the affected layer of thatch and prevent further damage.
Sign 4: Grass Struggling to Grow
If your grass is struggling to grow, it may be a sign that the thatch layer is too thick. When the thatch becomes overgrown, it blocks essential sunlight and water from reaching the soil and roots of your grass, making it difficult for the grass to grow.
Sign 5: Presence of Insects
Insect infestations can also occur when the thatch layer becomes too thick. Thatch provides an ideal environment for insects and pests, which can cause damage to your grass and lawn. Therefore, if you notice any signs of insect infestation in your yard, dethatching is necessary to remove the affected layer.
Sign 6: Presence of Lawn Mower Clippings
If you notice large amounts of lawn mower clippings lying on your grass, it could be a sign that your thatch is too thick. When thatch gets overgrown, it can become like a barrier between the grass and the soil, causing your mower to spit out clippings onto your yard.
Sign 7: Poor Soil Drainage
When thatch becomes too thick, it can prevent water from draining properly from your soil. Without proper drainage, your lawn could suffer from flooding or pooling water, which can lead to waterlogging and damage your turf.
Sign 8: Presence of Grubs
Grubs are small white worms that feed on the roots of grass. Thatch provides an ideal environment for grubs to live and thrive in, so if you notice many of them in your lawn, it could be a sign that dethatching is necessary.
Sign 9: Water-fouled Roots
If your soil has been waterlogged for an extended period, the roots of your grass can become damaged and weak. If this happens, you will need to dethatch your lawn to remove any dead or decaying thatch to restore proper drainage.
Sign 10: Thatch Thickness
As mentioned earlier, thatch should be less than ¾ inch (1.9 cm) thick. Too thin is not a problem, but if thicker than recommended, dethatching becomes necessary. Measure the thickness using a ruler or your finger. This can be done by performing a turf wedge test or checking for a spongy layer when walking on the lawn.
Sign 10: Yellowing Lawn
If large patches of your grass start turning yellow or brown, it could indicate an excessive amount of thatch preventing essential nutrients from reaching the grassroots.
A Step-by-Step Guide to Dethatching Your Lawn
Thatch is a layer of dead and living grass, roots, and other organic material that accumulates between grass blades and the soil surface.
While a low amount of thatch can be beneficial, too much can harm your lawn’s health and appearance by preventing air, water, and nutrients from reaching the grassroots.
This section provides a step-by-step process for thoroughly dethatching your lawn using easily accessible tools and materials.
Step 1: Determine If Your Lawn Needs Dethatching
To determine if your lawn needs dethatching, press on the grass and observe if it feels springy or bouncy or if the thatch layer is easily visible. Ideally, thatch should be no thicker than ½ inch. If it’s more than that, dethatching is necessary.
Step 2: Gather the Necessary Tools and Materials
To dethatch your lawn, you will need the following tools:
- Dethatching rake (for manual dethatching)
- Power rake (for small to medium lawns)
- Vertical mower (for more extensive lawns with thick thatch)
- Rake (for after-care)
- Lawnmower
- Lawn aerator (optional but recommended)
You will also need:
- Grass seed
- Fertilizer
- Water
Step 3: Prepare Your Lawn for Dethatching
- Water your lawn two days before dethatching to ensure the soil is moist but not overly soggy.
- Mark any shallow, buried utility, irrigation, or sprinkler heads.
- Mow your lawn to 1/2 its average height.
- If renting a dethatching machine, ask the rental company to adjust the spacing and depth according to your grass type.
Step 4: Dethatch Your Lawn
- Manual Dethatching: Use a dethatching rake for small lawns with minimal thatch.
- Power Rakes: Use power rakes for small to medium lawns with light to moderate thatch.
- Vertical Mowers: Use vertical mowers for more extensive lawns with thick thatch.
- Be careful not to damage healthy grassroots when using power tools.
- Run the dethatching machine at least three times in different directions.
- Remove piles of thatch immediately after the process.
Step 5: After-care and Lawn Recovery
- Rake up any remaining thatch on your lawn.
- Seed the lawn directly to encourage new growth.
- Topdressing your lawn with compost can help improve your root system and overall lawn health.
- Water and fertilize your lawn thoroughly to aid recovery.
Step 6: Preventing Thatch Buildup in the Future
To maintain a healthy property and prevent excessive thatch buildup:
- Fertilize your lawn only as needed (preferably in the fall).
- Aerate your soil for proper drainage and root growth.
- Mow your grass properly (never trim more than one-third of its height) and leave clippings to decompose.
- Avoid excessive use of pesticides.
- Test your soil regularly for nutrient levels and acidity.
When to Call a Lawn Care Professional
If your lawn requires more attention than you can provide, or you’d like expert advice on lawn dethatching and maintenance, consider contacting a professional lawn care service. They have the knowledge and expertise to
Avoid Improper Dethatching
Improper dethatching can cause more harm than good, so it’s best to avoid it. Here are a few things to remember:
- Never dethatch in wet or overly dry conditions.
- Avoid dethatching when the soil is too compacted.
- Do not go deeper than ¼ inch.
By following these tips, you can ensure a healthy and thriving lawn!
The Benefits of Dethatching
When done correctly, there are many benefits to dethatching your lawn. It helps reduce weed growth, improves nutrient and water absorption, encourages better air circulation, and increases the grass’s resistance to pests and diseases. It also sets a level base for mowing, ensuring even results every time.
FAQs
When is the best time to dethatch your lawn?
Taking care of your lawn is a year-round task. One of the most critical aspects of lawn maintenance is dethatching. But when is the best time to do it? This can depend on several of factors, including the type of grass you have and whether you live in a warmer or cooler climate.
Generally, the best time to dethatch your lawn is in the early spring or fall when the weather is mild. This will enable your yard to recover from the process and grow back strong and healthy.
However, if you have warm-season grass, it’s best to dethatch in the late spring or early summer when the grass grows and can recover quickly. Remember, proper timing and technique are essential for the health of your lawn.
How often should you dethatch your lawn?
It depends on a few factors, such as the type of grass you have and how much foot traffic your lawn experiences. Experts generally recommend dethatching once every one to three years, usually in the fall or spring when your lawn is most active. Remember, a healthy and well-maintained lawn not only looks great but also provides a beautiful backdrop for all your outdoor activities.
Conclusion
Dethatching is an important part of lawn care, and understanding the process can help you maintain a healthy and vibrant lawn. Following this step-by-step guide lets you quickly dethatch your property and enjoy its benefits for many years. Remember, always use the right tools and techniques for the best results.
By understanding and following the steps outlined in this guide, you can ensure your lawn is healthy and thatch-free. Regular dethatching will help your grass roots to absorb all the nutrients they need while promoting better drainage and air circulation. With a little effort, you can keep your lawn looking great for years to come.
Additionally, consider investing in a lawn aerator to boost drainage further and help keep your soil healthy. Aerating once or twice a year will help ensure your grass grows solid and lush. Caring for your lawn doesn’t have to be complicated – beautiful results are easy to achieve with the right tools and techniques.

Douglas Mackalie is a Founder of Mackalies Garden. He is one of the most exciting people you’ll ever meet. He has 25 years of experience in horticulture and gardening, most of which he’s spent outdoors getting his hands dirty.

